Annie Sloan Chalk Paint Ideas For Bedroom Furniture
Chalk Paint Bedroom Furniture Makeover
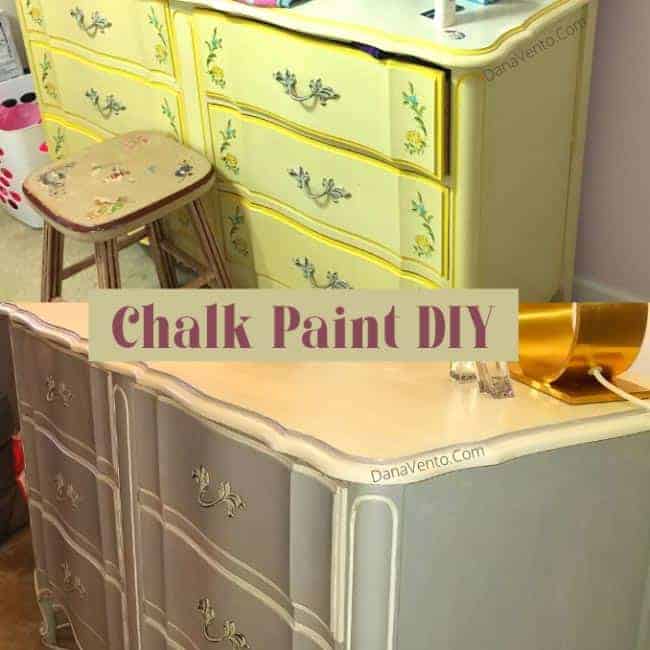
I love that my daughter has my old furniture, but I don't love the color or the style.
The furniture is so dated and this color, won't be one of those, 'what is old is not going to be new again!'
Nevertheless, yellow in the furniture does not compliment anything in her room.
In fact, she chose pink walls (sigh).
The room will grow with her now, and I believe this look defines that.
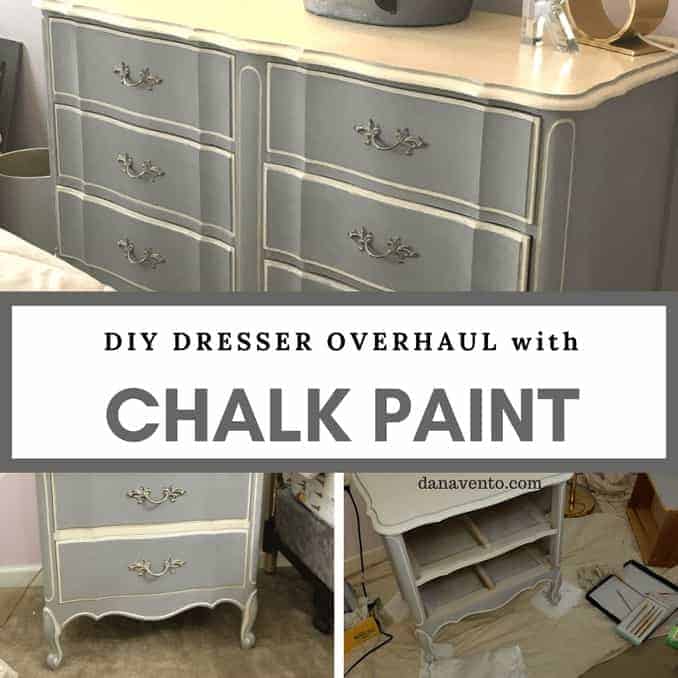
To keep things simple I decided to do a DIY dresser overhaul with chalk paint.
I carefully chose my brand, as well as my colors.
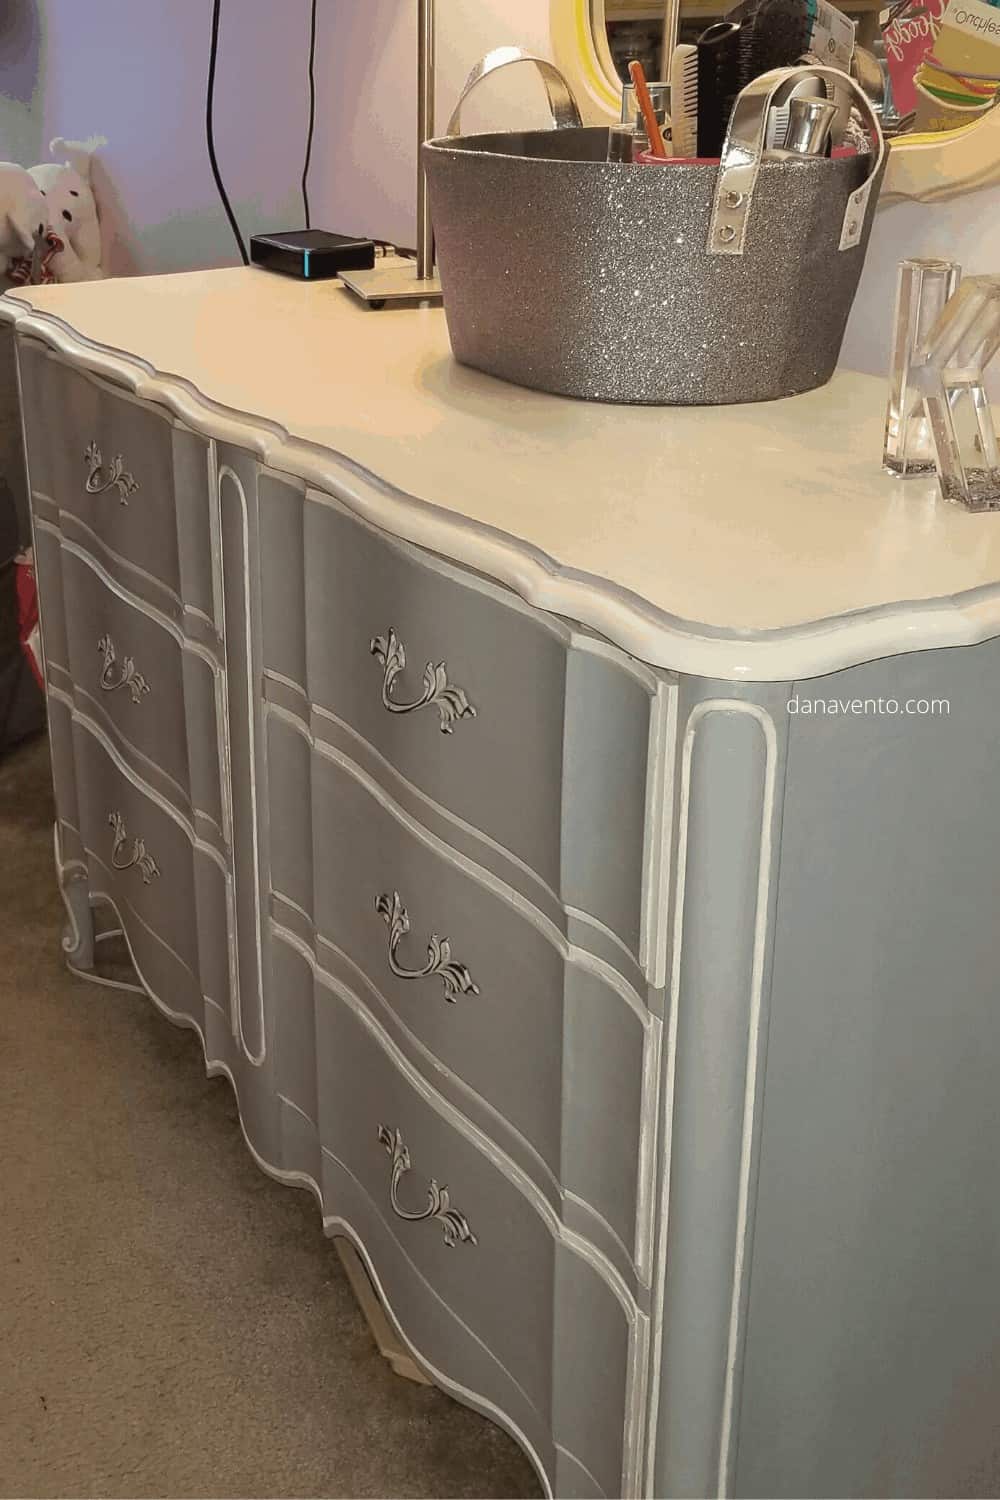
My gift to my daughter is a new look on her furniture.
The gift to myself is no longer viewing a color clash, rather a piece of furniture that looks incredible.
Here's how to lavishly live DIY out loud and overhaul a dresser with Chalk Paint.
Chalk Paint Bedroom Furniture Makeover ~ Color Choice Matters
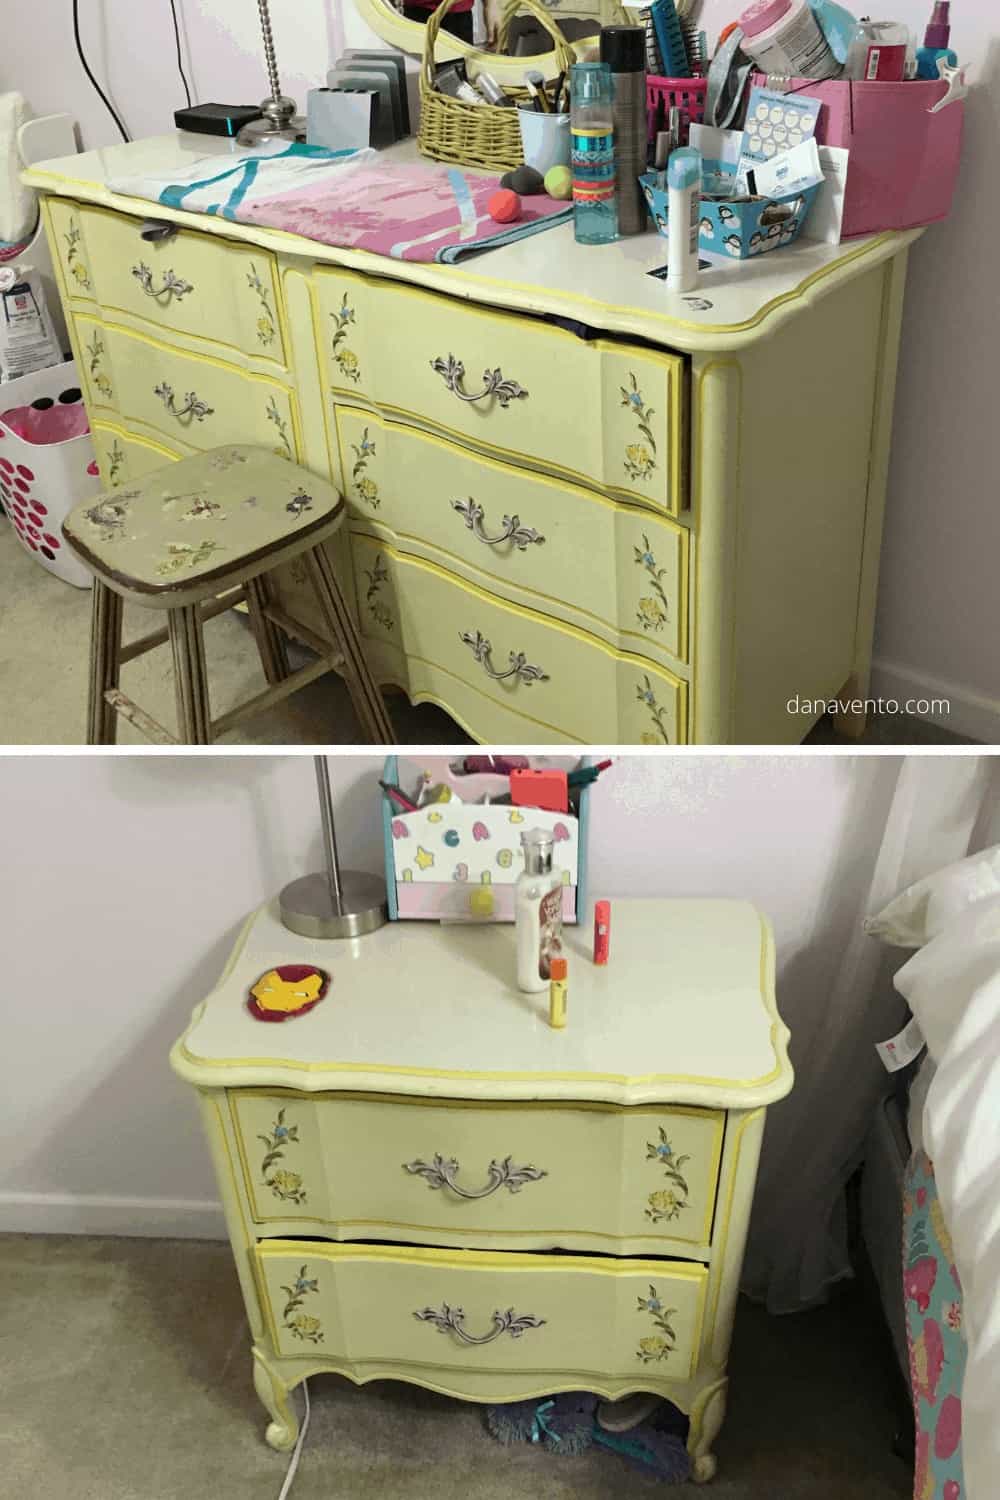
Oh My God, it's BRIGHT yellow.
Nope.
Really is this in my house?
What year is it?
Ugggg!
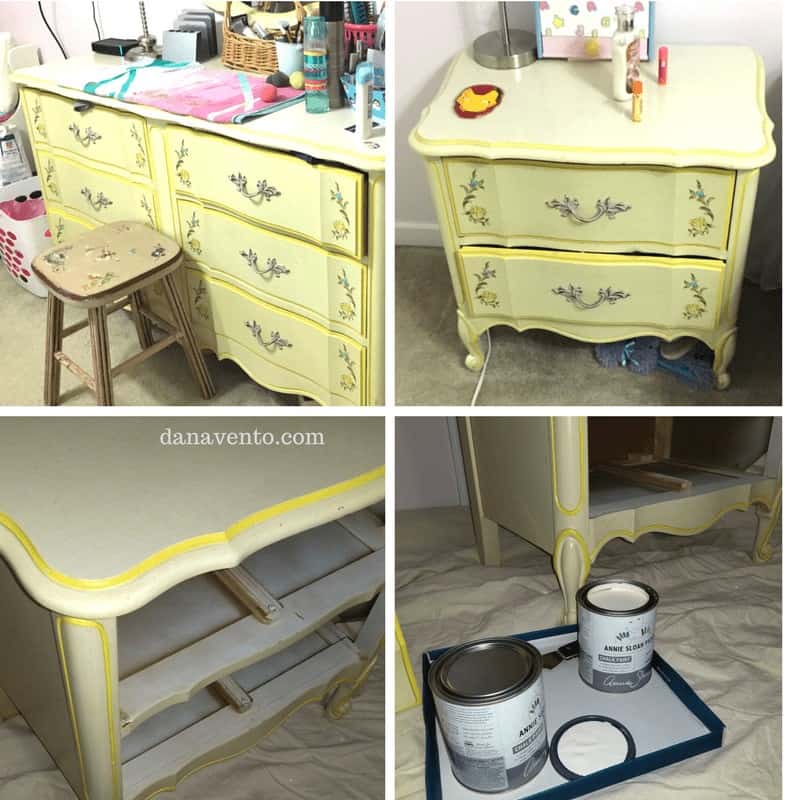
Today's posts used products provided by Annie Sloan. In fact, I used Chalk Paint® decorative paint by Annie Sloan.

My color choices were: Chalk Paint® in Paris Grey and Chalk Paint® in Old White !
I pride myself on my DIY projects.
DIY is a commitment to reusing what you have made it look better and fit your life better.
Don't throw things out, reuse them for a better purpose.
I am always pressed for time, so I wanted something that I could work with that would not require priming or sanding.
In this case, I just needed to be able to move the project along and see some results fast.
When I can see my path I know that I am moving along.
Progression is so important in keeping up the DIY spirit.
Supplies Needed: Chalk Paint Bedroom Furniture Makeover
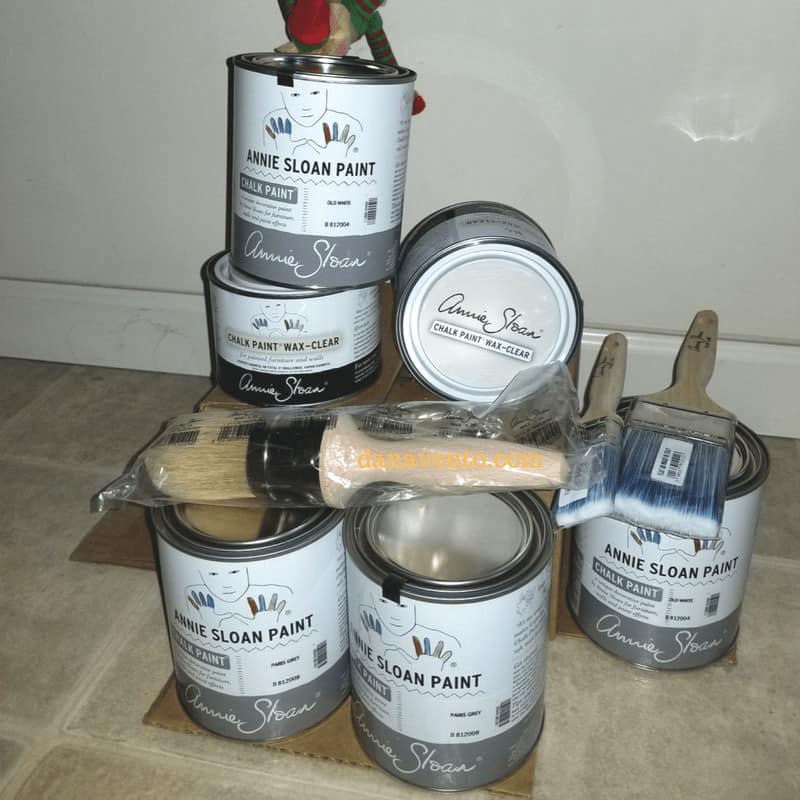
Honestly, you can not get a great look if you don't have the right supplies.
My supplies were Annie Sloan and I purchased a great set of detail brushes from the local craft store.
Here are my paints, and flat brushes.
Annie Sloan's Flat Brushes truly let me look like a pro without much effort.
The brushes actually take on a good amount of paint, but don't 'gob', and apply evenly.
You have to love the ease of the work.
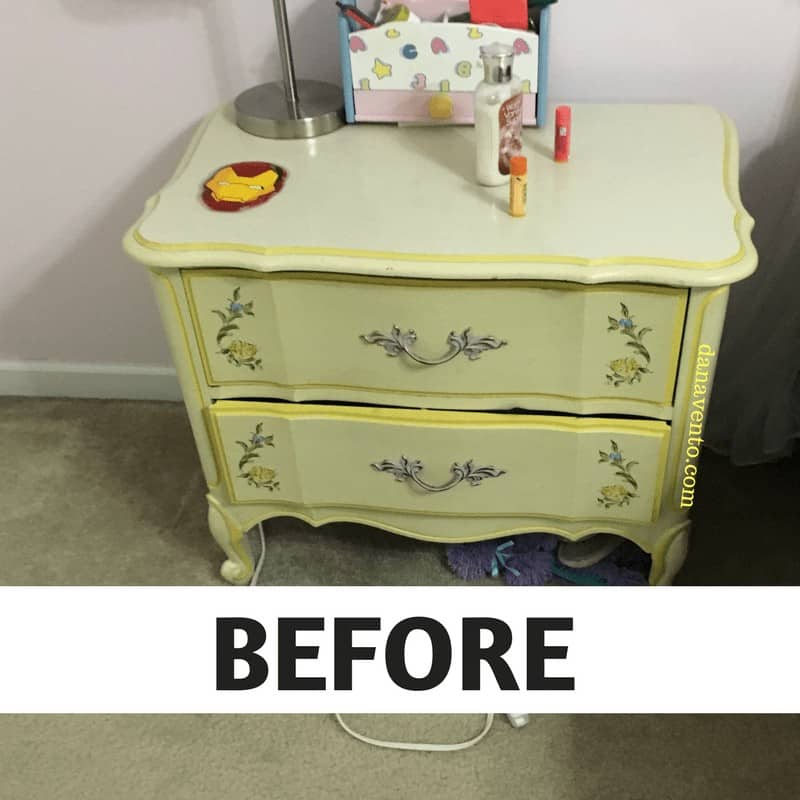
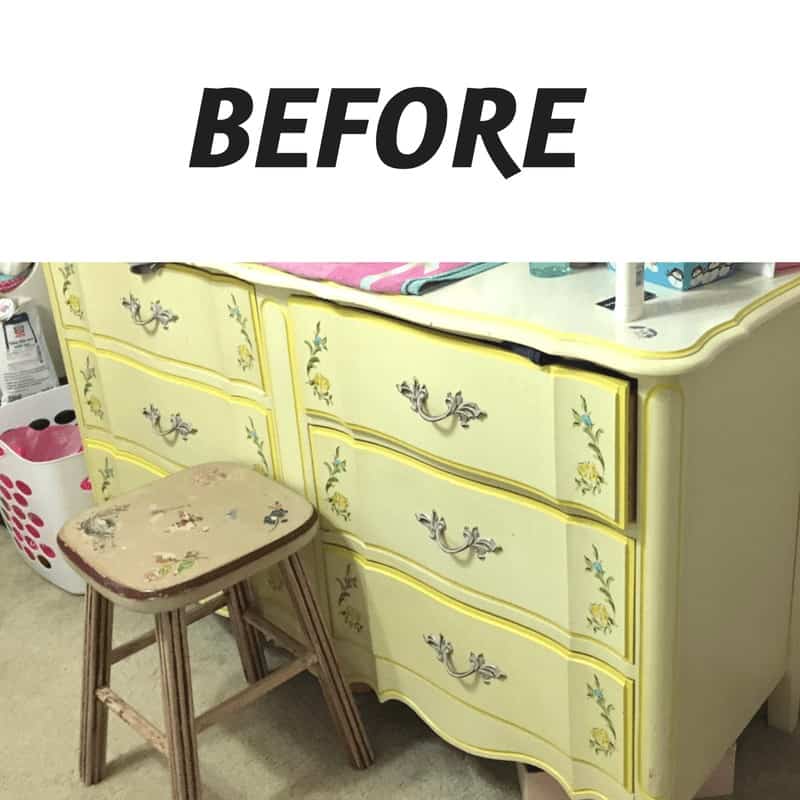
BEFORE we started The Chalk Paint Bedroom Furniture Makeover
When I looked at the furniture I knew I could change it by simply using the brand of brands, Chalk Paint®
The hardest part of the project was figuring out what colors I was going to use.
Yes, I said, 'colors' because, there's a lot of detailing work on the furniture.
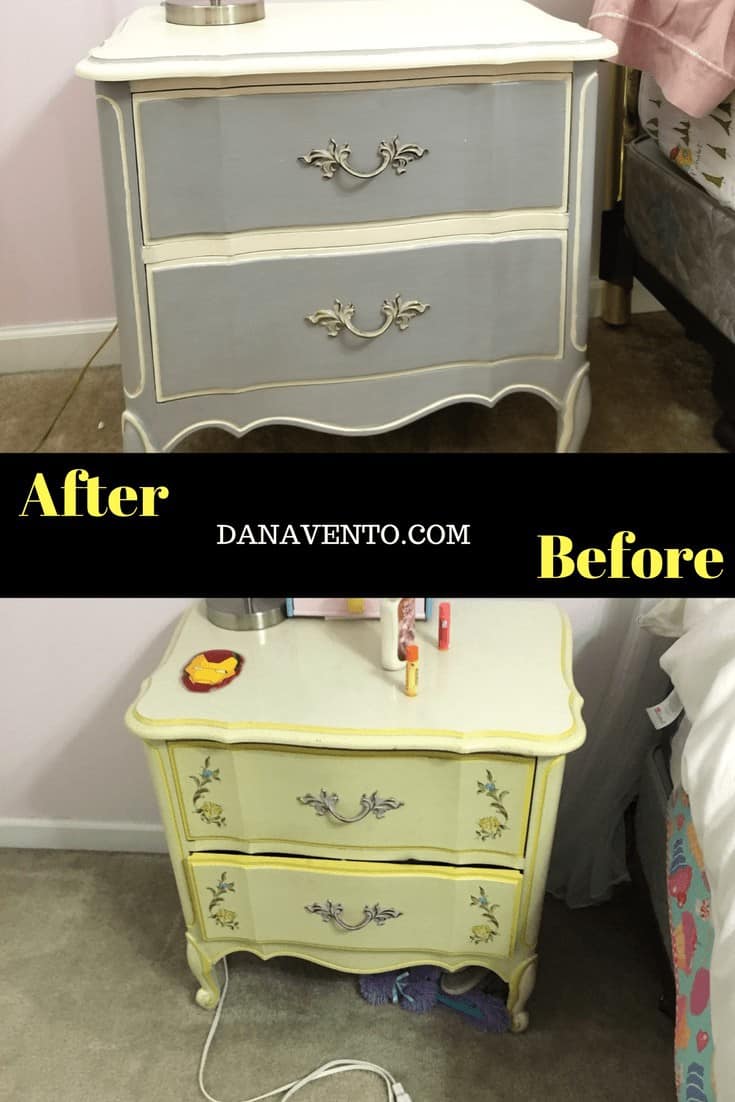
Imagine being able to start with this – before the dresser overhaul with chalk paint
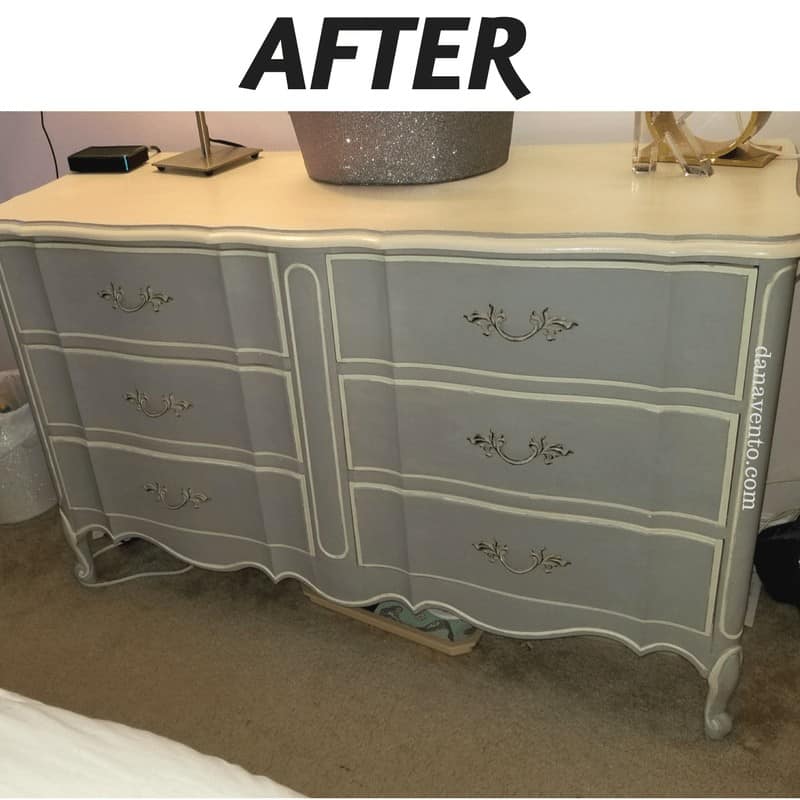
And end up with it looking fabulous like this- after!
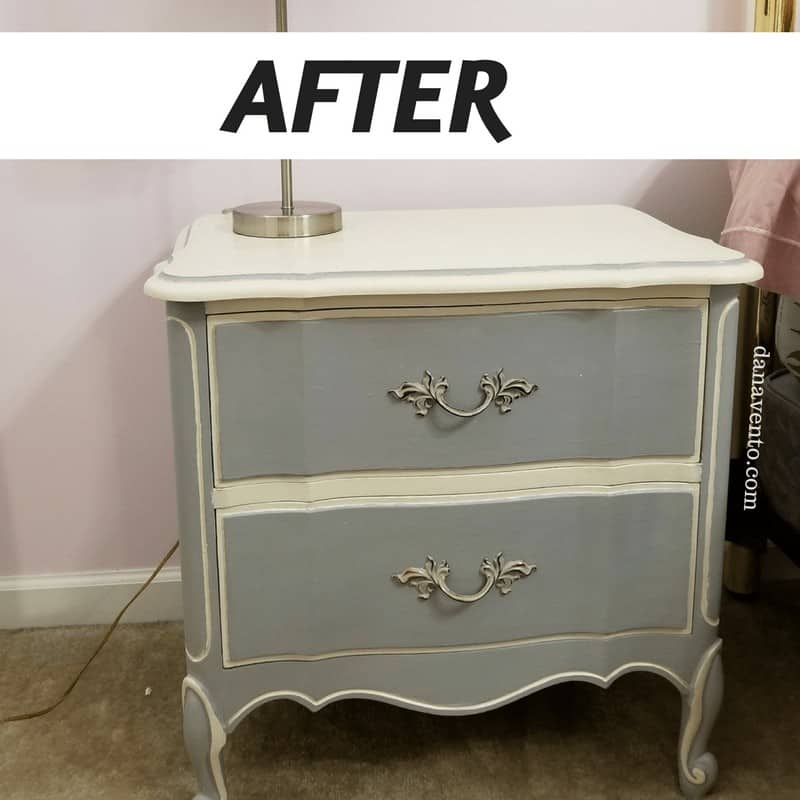
I seriously felt like I walked out of Home Goods with a new piece of furniture, except the satisfaction was in the DIY part, not the 'shop for it' part!
Wait, let's see them together for the before and after.
Chalk Paint Bedroom Furniture Makeover requires Brushes
Tools of the trade are seriously important here when painting with the Chalk Paint®
You can see that I used the Annie Sloan Flat Brushes and it just happened to make the results easy to achieve!
Here are the in-between stages.
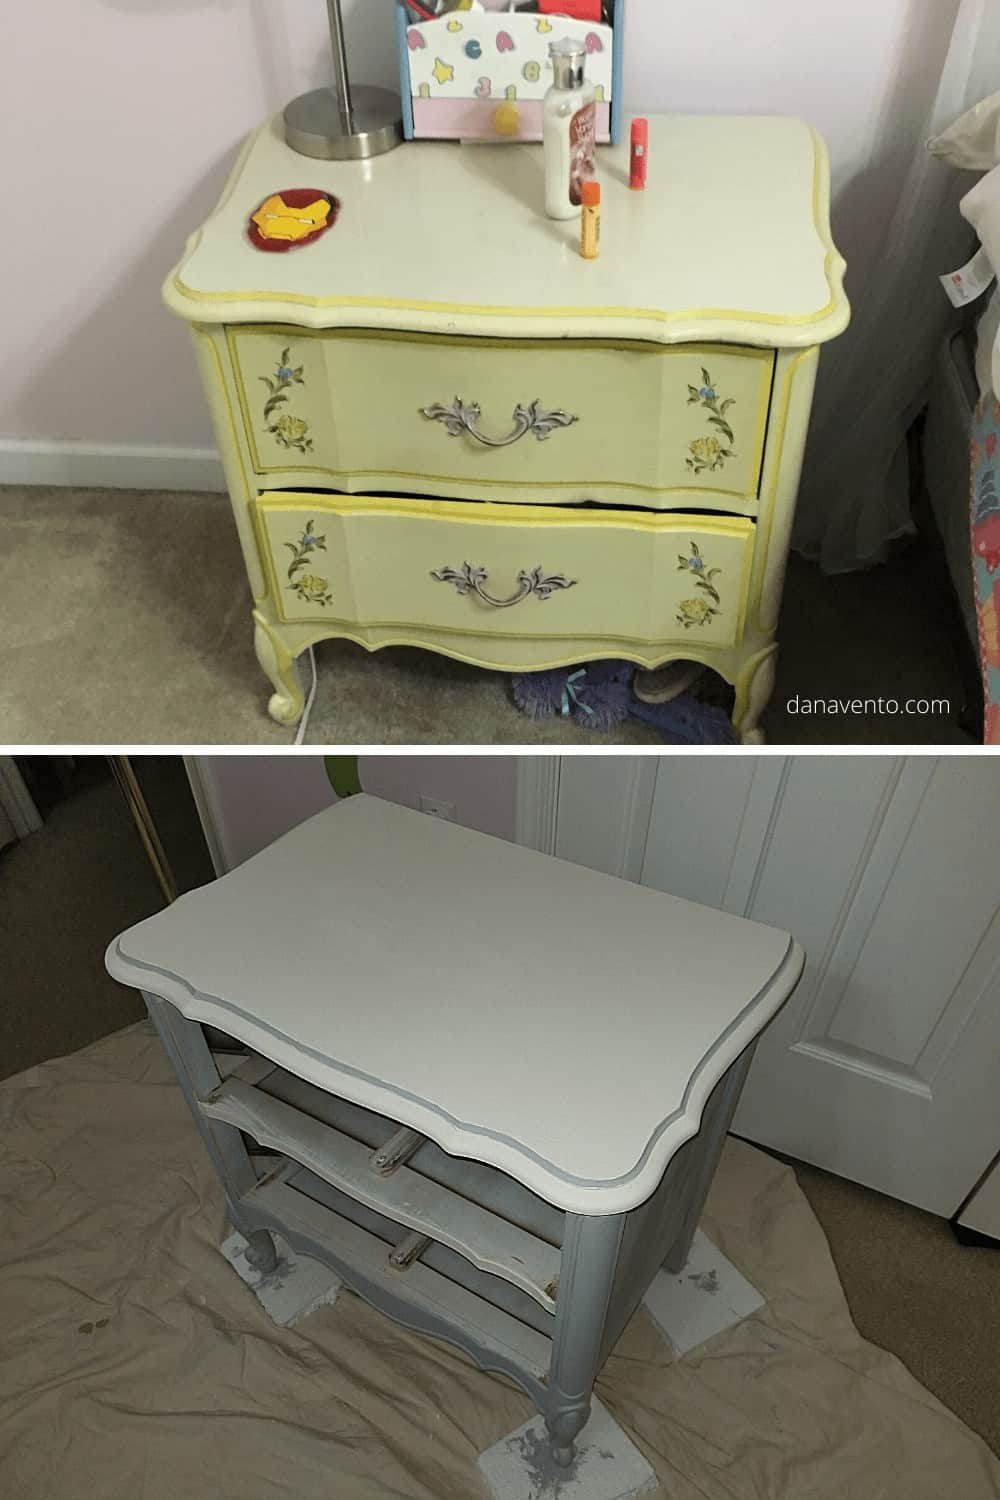
Chalk Paint Bedroom Furniture Makeover Between Detailing Steps
If you look at this image you can see the drying in between.
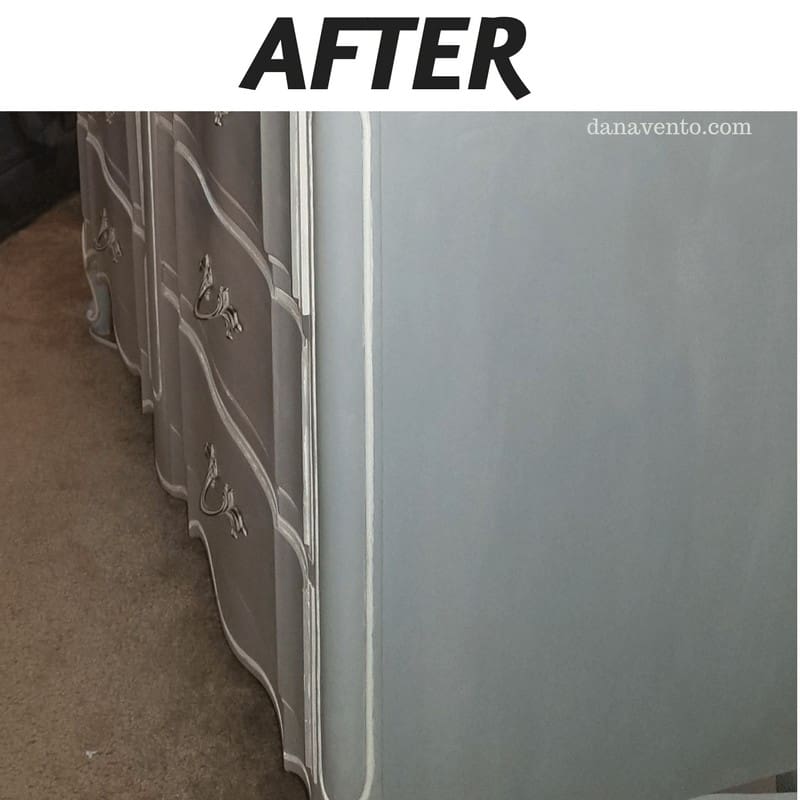
Further, I painted the entire top white and the sides gray, before I did the detailing.
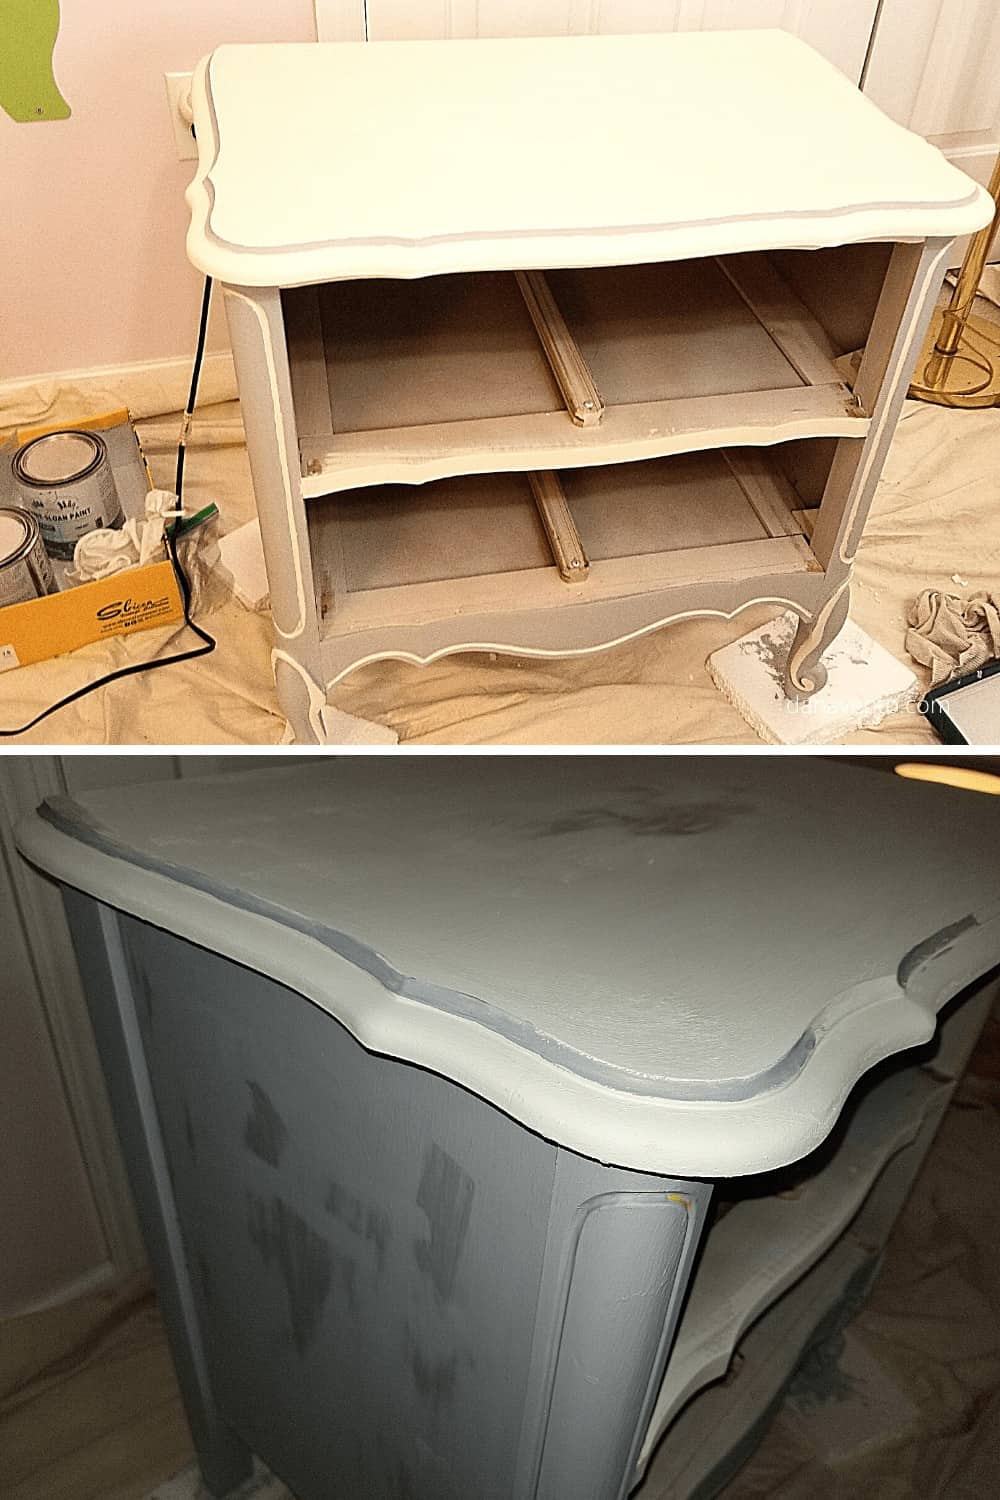
Then I changed how I was doing this, getting a bit more regimented.
Truly it takes the first piece to really gain a plan.
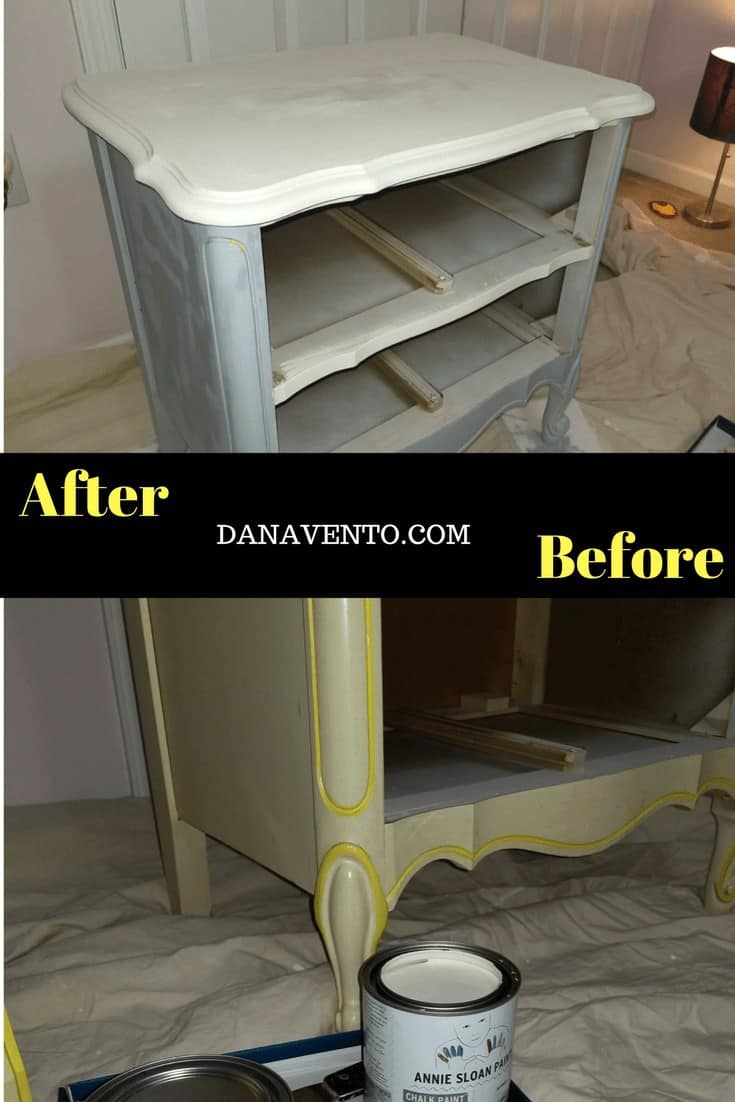
TIPS – For A Chalk Paint Bedroom Furniture Makeover
As I worked, I used styrofoam pieces to elevate legs so I could definitely cover them and not hit the carpet.
Do use drop cloths ( I did)
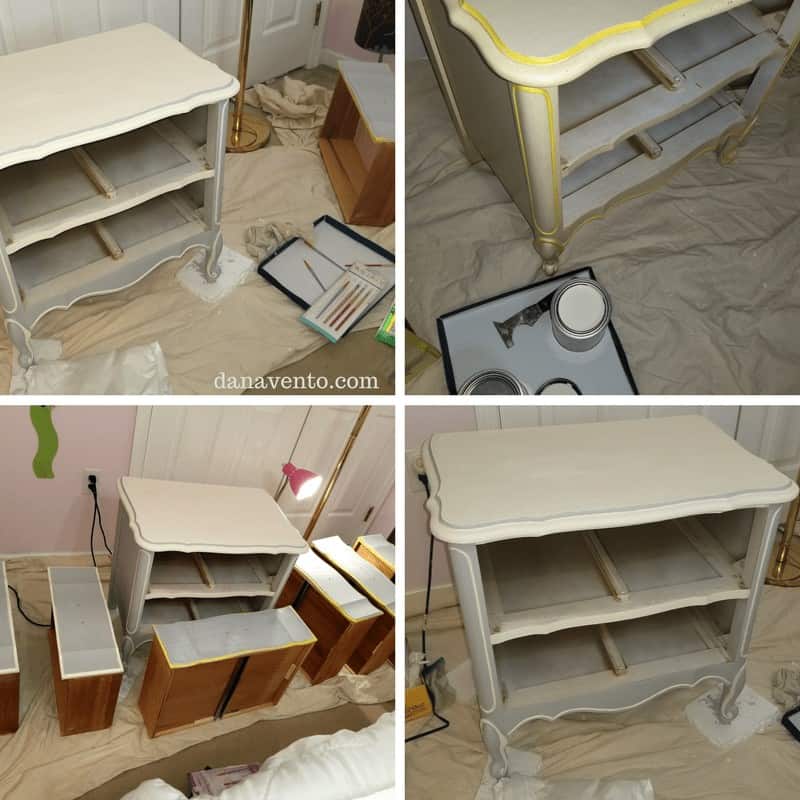
The dresser is the project of projects.
As you can see I had all the drawers set up.
Therefore, I decided to take off the hardware rather than paint around.
I wanted this to look PRO!
I would use the Chalk Paint® in Paris Grey first, then I did the outlining with the detail brushes ( Chalk Paint® in Old White) ), as you can see.
In the spirit of recycling, use an old shoebox to hold Chalk Paint®
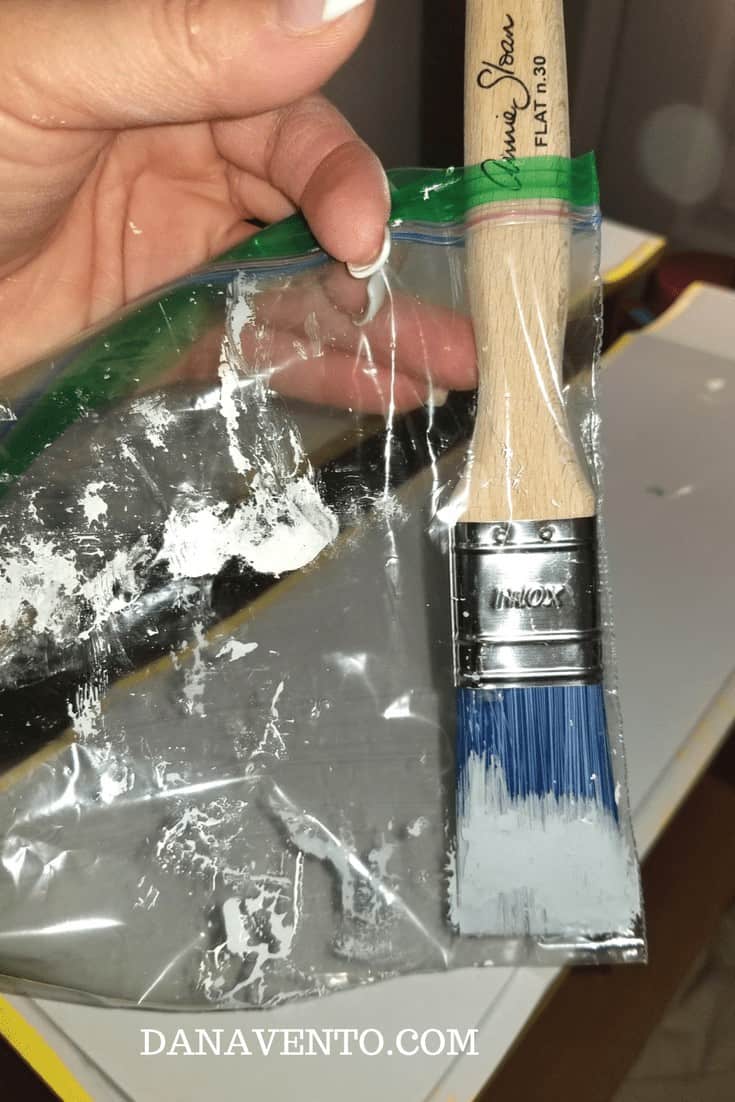
If you are using a few detail brushes or a few Annie Sloan Flat brushes (different colors, etc) use a zipping bag.
I did this to keep the brush pliable and set to go when you are ready to keep ongoing.
Do wash brushes after you are done, with simple water and dish soap mixture.
Cradle the soap in the palm of your hand (dime size) and swirl the brush in the palm of your hand to work it through the bristles.
Dry with a clean, cotton cloth and form again, allowing to dry for next use.
Want more tips for painting? Check out what products help make painting easier!
Do recap during painting, pour what you need into a container, and keep the lid on the Chalk Paint®
Tip: To Create this Stunning 2-color chalk paint bedroom furniture makeover
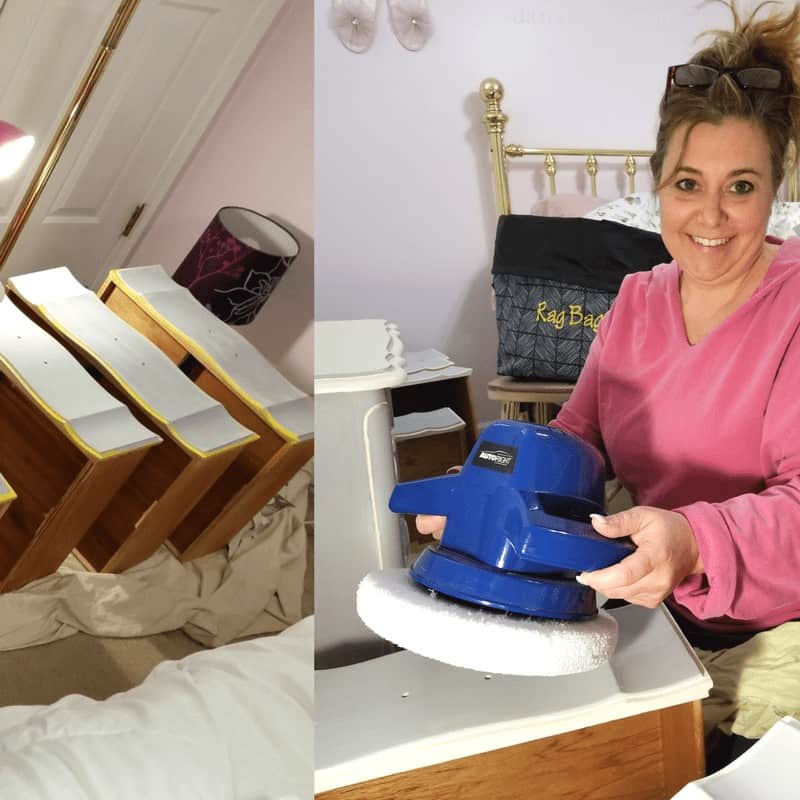
One last thing I did to make life easier, I buffed with my buffer to take the wax off, and it left an incredible shine.
I personally did not feel like using a cloth, because there were so many drawers.
While it may not be the suggested method, you can see my results were magnificent.
I did this after the wax was on for 24 hours. I decided not to do the typical buffing with a cloth.
TIP about Chalk Paint and Waxing Change-Up
Once I was done with the chalk paint it was time to 'seal'
The wax was not working out for us.
First, it does need to set up, it should 'cure' for a few days, even a week before you start putting stuff on it.
Having a teen was not making this possible, she wanted and needed her furniture then and there.
I went another route, after finishing two pieces of furniture with the wax, I opted for a sealer.
So I simply, painted it on with a brush, it set up, and 24 hours later, she used her dresser top.
Just an additional thought.
The wax is amazing but again our lifestyle and my timing was off!
The Main Dresser – Chalk Pain Bedroom Furniture Makeover
I let this dry, it happened fast, and then repainted 2 coats total.
Once I repeated this on every drawer, then I did the detailing.
In between, I would do other things, like housework, lol!
When I was done with both the detailing and painting, I waxed and then I let that sit for 24 hours. No fans, nothing.
I will state this there is a slight odor of the wax.
With this in mind, I would recommend working in a room you do not sleep in.
(My daughter was at college when I was working, thus why I just worked in her room).
But once she got home, I was not done and there was a smell.
When it was time for waxing, as stated above, I simply used the buffer to do this.
It was easy and saved my hands and elbows.
You can simply use a cotton cloth to achieve the same effect.
Once finished, I added the handles back on and used paraffin wax on the drawer runners.
In addition, I, put the drawer liners in to make it really pretty!
There is no protocol I was just dolling it up for her!
I am so happy with the results and while I still have one more piece to go, the look of the room has changed dramatically and suddenly everything looks styled and the furniture looks right!
~ Dana XO
DIY Dresser Overhaul With Chalk Paint
In this DIY Dresser Overhaul with chalk paint, I actually completed an entire bedroom set.
A bookcase, stool, desk, nightstand, and main dresser, as well as a mirror.
The overall time if I had done this nonstop would have been a 2-day process.
For me, it was a few hours a day.
Detailing the edges was insanely crazy for the time of the year (Christmas) and maybe ill-planned.
However, I took my time.
Each piece of furniture took no less than 2 hours and the main 6 drawer piece was a 6-hour process.
Drying time, detailing, painting, drawers out and drawers in, and cleaning all accounted for the time.
It's not hard to do this project it was just harder with 3 kids home, and the holidays.
Yes, I would do it again and I am with different furniture and a few other major projects so stay tuned!
Prep Time 25 mins
Active Time 1 hr
Additional Time 2 hrs
Total Time 3 hrs 25 mins
Cost: 100.00
-
Screwdriver
-
Hammer
-
Brushes - wax
-
Artistic Brushes - detailing
-
Vacuum
- Chalk Paint® decorative paint by Annie Sloan
- Annie Sloan's Flat Brushes
- Painters Tape for detailing
- Detailing Artist brushes
- Soap
- Water
- Cleaning solution for furniture without WAX to cut grease and grime
- Rags
- Floor Tarp
- Time
- Light
- Patience
-
First, detach all hardware.
-
Clean it and set it aside.
-
Next, wash all the furniture to free it of grease, grime, and dirt.
-
Stir the paint well, then place the first coat on.
-
If you are alternating colors, paint the other color in the other area while the main coat dries.
-
You need about 15-20 minutes between coats, but.. you must make sure the coat is dry.
-
Fans, lower humidity all help the process.
-
Paint the large spaces on al the furniture first.
-
Follow with all the trim detail, taping off as necessary with painter's tape.
-
In between using the brushes, and alternating, make sure to keep brushes in a zippered bag.
-
This process keeps the brushes usable without having to stop and wash between each color change.
-
Once you have coated the furniture and achieved the color you are happy with (how many coats will make the difference) allow it to dry overnight.
-
Then, you will want to wax the furniture with Chalk Paint Clear or dark whatever you are working on.
-
I however did find that the wax setting time was not working with my lifestyle.
-
Instead of sticking with the wax, and I did try it on 2 dressers, I switched to a clear polyacrylic to seal.
-
It fared much better for durability against marks and dings.
Notes about Waxing process.
Wait 24 hours to 36 hours to wax over the paint.
Waxing is best in a well-ventilated area.
A little bit of wax goes a Loooonnnngggg way.
Did I say that a little really goes far?
If you chose not to wax, find an alternate sealer, to keep your new project how it was finished to be.
You do need to buff off the wax and you should do 2 coats.
Make sure to invest in the chalk paintbrushes.
Soap and water clean the paint off all the brushes from the paint.
Annie Sloan Chalk Paint Ideas For Bedroom Furniture
Source: https://danavento.com/chalk-paint-bedroom-furniture-makeover/


0 komentar:
Posting Komentar